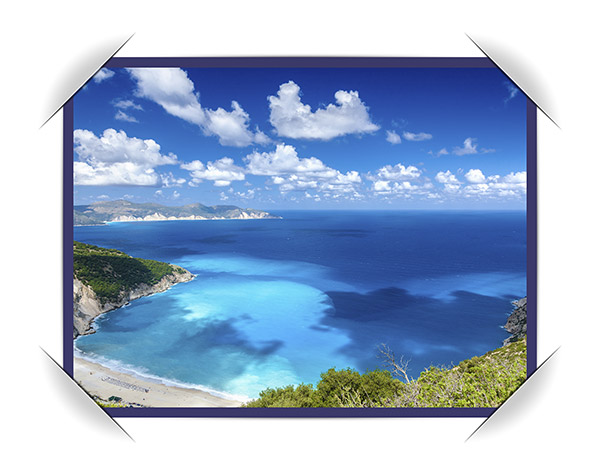
The Photo corners - Slits is one of our most advanced and elegant products. By default the actions add a white photo frame to your photo. The default background color is gray, to emphasize the glows and shadows beyond the slits:
Some of you may want to use the actions over a white background (for specific design purposes or to save on ink costs while printing). Here's what you need to do in this case:
A. Modify the color of the white frame:
1. When the action finishes, go to the Layers panel and select the "Frame" layer:

2. Click the "fx" button at the bottom of the Layers panel; select the "Color Overlay" style and pick a color of your preference.
B. Change the color of the background to white:
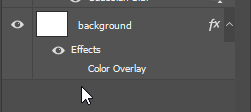
Go to the Layers panel and click the eyeball icon to the left of "Color Overlay" to eliminate the gray color. Alternatively you can right-click the "background" layer and select "Clear Layer Style":
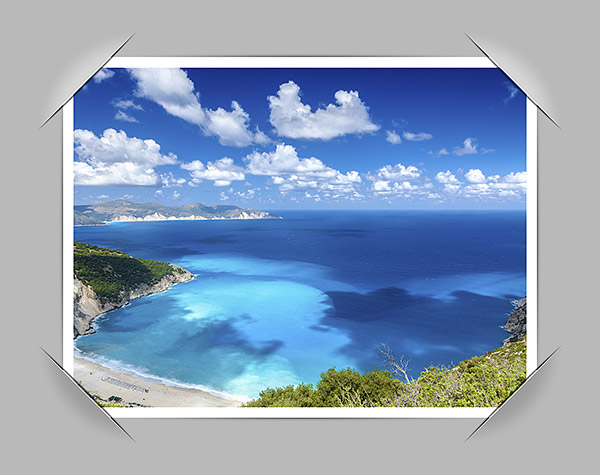
This is how the overall effect looks now. The slits look rather flat. We'll take care of it in the next steps:

C. Modify the appearance of the slits:
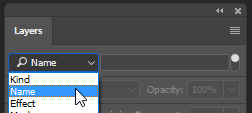
1. Go to the top of the Layers panel and turn on layer filtering:
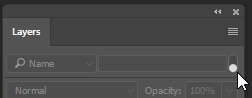
2. Select "Name" from the filter dropdown list:
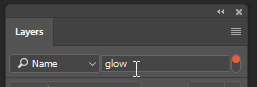
3. Type glow in the filtering field:
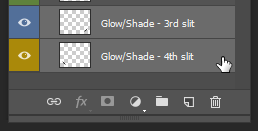
4. Hold down the Ctrl key (Mac: cmd) and select the last two layers: "Glow/Shade - 3rd slit" and "Glow/Shade - 4th slit":
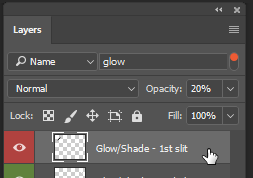
5. Change the blending mode to "Normal" and set the opacity to 20%:

6. Select the "Glow/Shade - 1st slit" layer.
Press Ctrl-I (Mac: cmd-I) to invert the colors.
Change the blending mode to "Normal" and set the opacity to 20%:
7. Select the "Glow/Shade - 2nd slit" layer.
Press Ctrl-I (Mac: cmd-I).
Change the blending mode to "Normal" and set the opacity to 20%:

That's it. You can print the image on a white paper or save it for web: