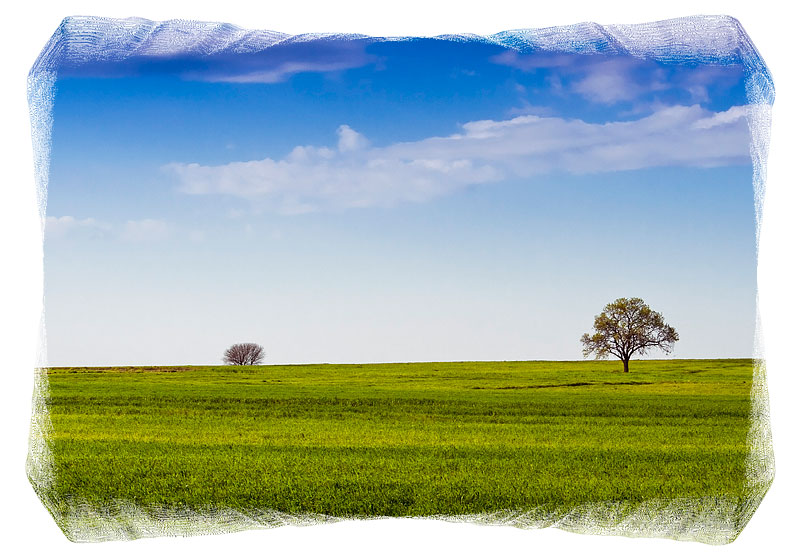
Create edge effects using filters on layer masks
REQUIREMENTS:
-
Photoshop CC, CS6, CS5, CS4, CS3
SKILLS LEVEL:
-
Easy

This tutorial will show you how to create an interesting edge effect in Photoshop using the mask panel and Photoshop's filters.
NOTE: Many filters do not work on 16-bit images (or higher) so make sure you are working on 8-bit images for the purposes of this tutorial.
NOTE: Many filters do not work on 16-bit images (or higher) so make sure you are working on 8-bit images for the purposes of this tutorial.
- Open a flat image in Photoshop.
- Press D to reset swatches.
- Double click the Background layer and rename it to "image".
- Hold down Shift-Control (PC) or Shift-Cmd (Mac) and click the new layer button on the layers panel. This will create a new blank layer below the image layer.
- Press Control-Backspace (PC) or Cmd-Backspace (Mac) to fill this layer with white color (or press Shift-F5, click on "Use", select "White" and hit OK).
- Select the "image" layer.
- Press M to pick the selection tools.
- Press Control-A (PC) or Cmd-A (Mac).
- Right click on the image and choose "Transform Selection" from the menu.
- Hold down Shift-Alt (PC) or Shift-Opt (Mac) and drag inwards the upper-right transformation handle. In my example I dragged the handle inwards approx. 10% of the original image width. Double click when finished.
- With the "image" layer selected, click on the "Add Layer mask" button, on the layers panel.
- Go to the Masks panel (Window > Masks) and click on "Mask Edge".
- Check the "Smart Radius" button. Now move the the "Radius" slider to the right and observe the changes on the mask edges. Similarly, move the "Contrast" slider to the right. You can experiment with moving the other sliders. Hit OK when finished.
- Click on the mask of the "image" layer. At this point we will experiment with the variety of Photoshop filters to create even more interesting edge effects. In this example we will use the "Radial Blur" filter.
- Choose: Filter > Blur > Radial Blur.
- Enter the desired amount of blur by moving the respective slider. The optimum value depends on the size of the original image. In my example I used a value of 12, for my eight Megapixels image. If you have a smaller image you may want to try a smaller value.
- Finally make sure that the "Spin" blur method is checked and set the quality to "Good" or "Best" (the later takes more time to render). Hit OK.
- You can stop here or you can move on by manipulating the edges even further. Let's check what we can come up with, by applying a couple of more filters.
- Make sure the layer mask is selected and choose Filter > Filter Gallery.
- Select the "Sumi-e" filter from the "Brush Strokes" category. In my example I dragged the Stroke Width & Pressure sliders to the far right while I dragged the Contrast slider to the far left.
- Now click on the "New Effect Layer" button at the bottom of the Filter Gallery to add a second filter. This time select the "Paint Daubs" filter from the "Artistic" category at the top.
- Move the "Brush Size" & "Sharpness" sliders to the right. Select "Sparkle" from the "Brush Type" menu and hit OK.
That's it. You can create many different edge effects by trying different filters.
