This tutorial will guide you in creating a stunning sunburst text effect. Carefully follow each step to gain insights into the workings of specific Photoshop filters and functions.

If you find the instructions challenging to follow or prefer a quicker solution, you can download the Photoshop action for this effect.
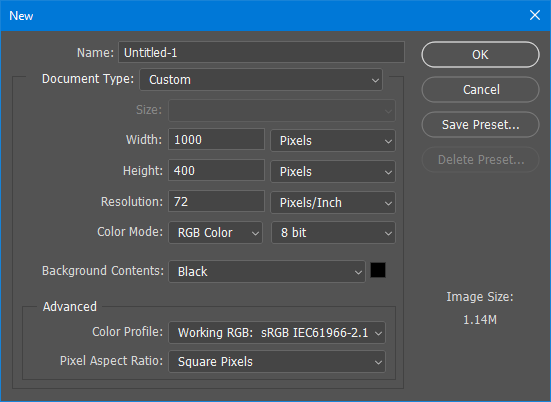
If you have Photoshop, press Ctrl-N (PC) or cmd-N (Mac) to create a new Photoshop document. In the new document window, enter the preferred dimensions (in this tutorial I used 1000 x 400 pixels). Set the Resolution to 72 Pixels/Inch, the Color Mode to RGB Color 8 bit, the Background contents to Black, and hit OK to create the document:
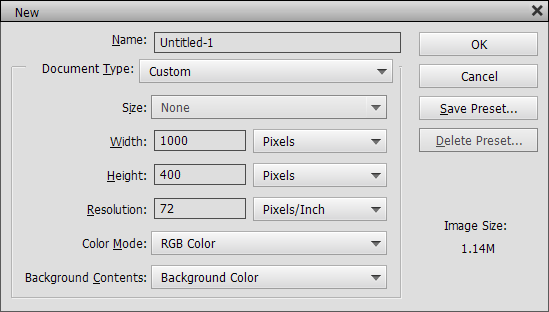
If you have Photoshop Elements, press D, then X. Press Ctrl-N (PC) or cmd-N (Mac) to create a new document. In the new document window, enter the preferred dimensions (in this tutorial I used 1000 x 400 pixels). Set the Resolution to 72 Pixels/Inch, the Color Mode to RGB Color, the Background contents to 'Background Color', and hit OK to create the document:
Press T to select the text tool.
Pick a font of your choice, adjust its size (150 pt in my tutorial) and set the text color to white:

Type your text and center it. In my example I typed the word 'evolution':

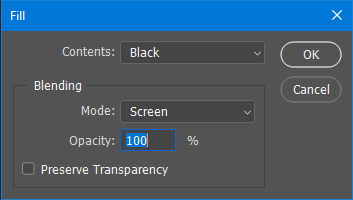
Select Edit > Fill (in PS Elements select: Edit > Fill Layer). Choose the Black color, set Mode to Screen, the Opacity to 100% and hit OK:
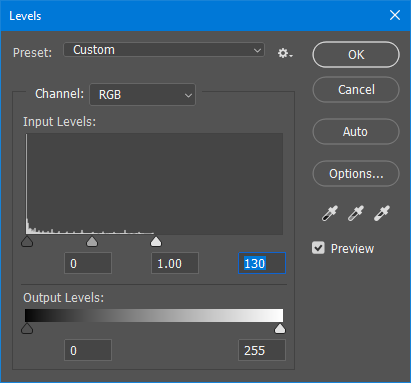
Press Ctrl-L (Mac: cmd-L). In the Levels window, drag the small white triangle to the left, until the input level reads '130', and hit OK:
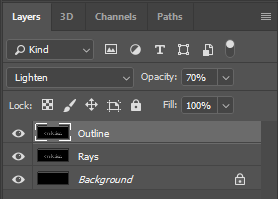
Go to the layers panel and set the new layer's blending mode to Lighten and its Opacity to 70%:
Select the "Rays" layer. Select: Filter > Distort > Polar Coordinates. Select the second option Polar to Rectangular and hit OK:
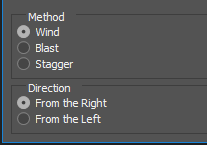
Select: Filter > Stylize > Wind and apply these settings:
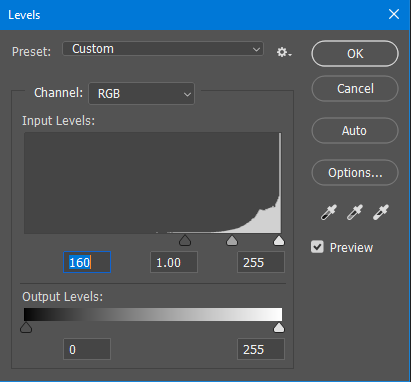
Press Ctrl-L (Mac: cmd-L). In the Levels window, drag the small dark triangle to the right to set the input level between 160 to 200. Hit OK:
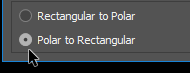
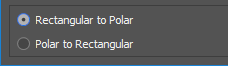
Select: Filter > Distort > Polar Coordinates. This time select the first option Rectangular to Polar and hit OK:
Select the "Outline" layer.
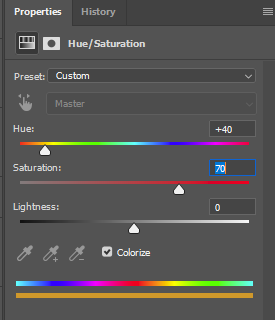
Select: Layer > New Adjustment Layer > Hue/Saturation. Check the Colorize button and enter +40 (for hue) and a value between 40-70 (for Saturation):
If you have Photoshop, press Ctrl-Alt-G (Mac: cmd-opt-G). In Photoshop Elements press Ctrl-G (Mac: cmd-G) to create a clipping mask.
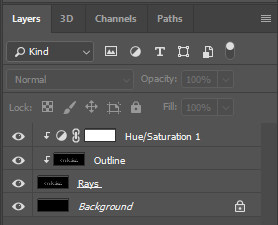
Select the "Outline" layer. If you have Photoshop, press Ctrl-Alt-G (Mac: cmd-opt-G). In Photoshop Elements press Ctrl-G (Mac: cmd-G). The Layers panel should now look like this:
The text effect so far:


In the last step we will add a lens flare:
Select the "Rays" layer and change its blending mode to Screen.
Select the Background layer. If you have Photoshop, right click on the Background layer and select Convert to Smart Object. This will later let you double click the 'Lens Flare' filter and reposition it.
Select Filter > Render > Lens Flare and add a lens flare to your text. Choose a style, use your mouse to position it over the photo and hit OK to apply.
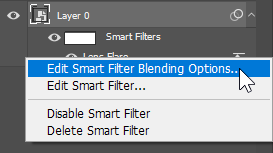
If you have Photoshop, you can go to the Layers panel and right-click the 'Lens Flare' smart filter. You can select 'Edit Smart Filter' to change the filter options. You can also select 'Edit Smart Filter Blending Options' and change the filter opacity and blending mode, to create a more interesting effect:
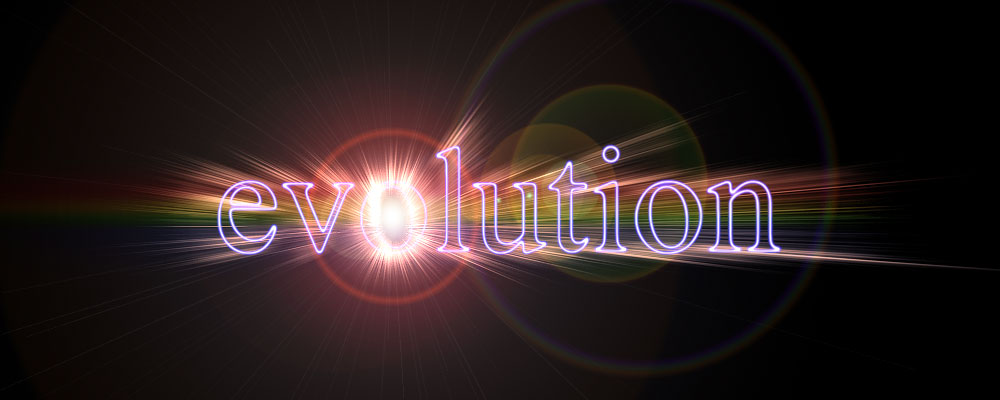
Here's what I created: